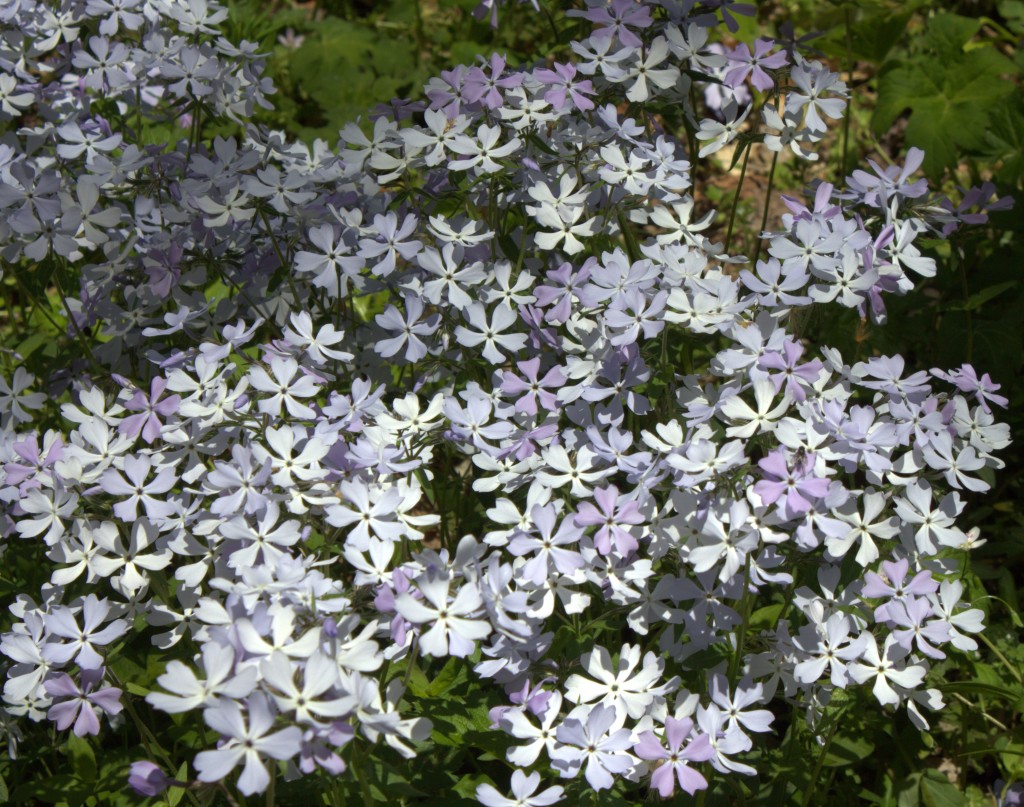
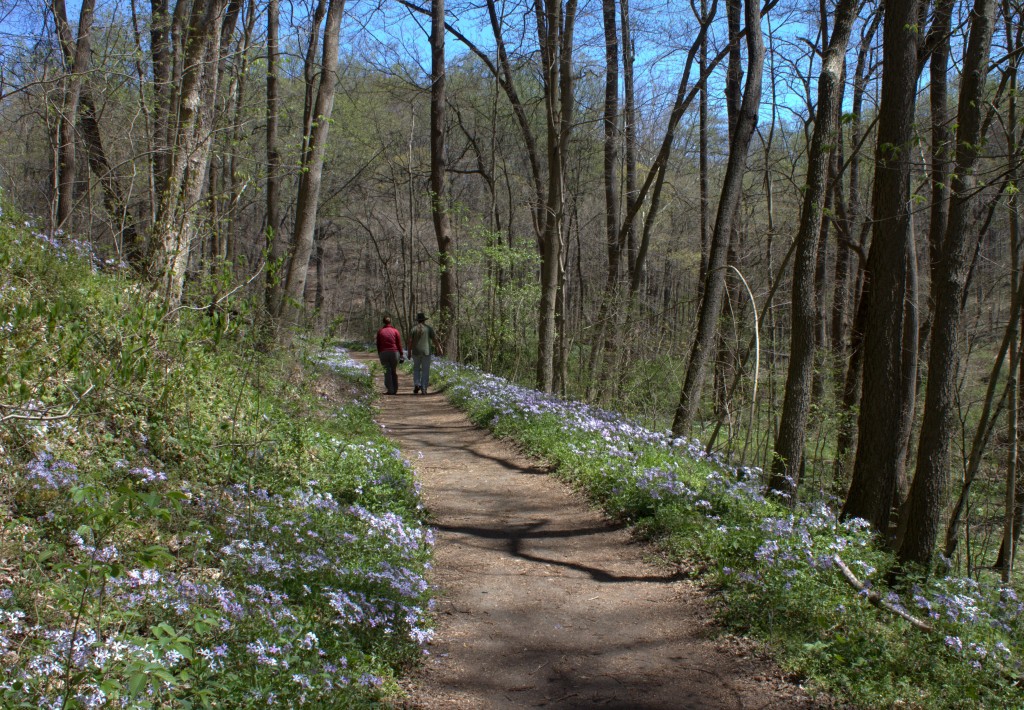
Trillium, wild phlox and bluebells show off in great numbers at Shenk’s Ferry in Lancaster County, Pennsylvania during early Spring. These plants are quite noticeable due to their pretty blooms and their size. Each one reaches at least a foot tall and their flowers are held high for all to appreciate.
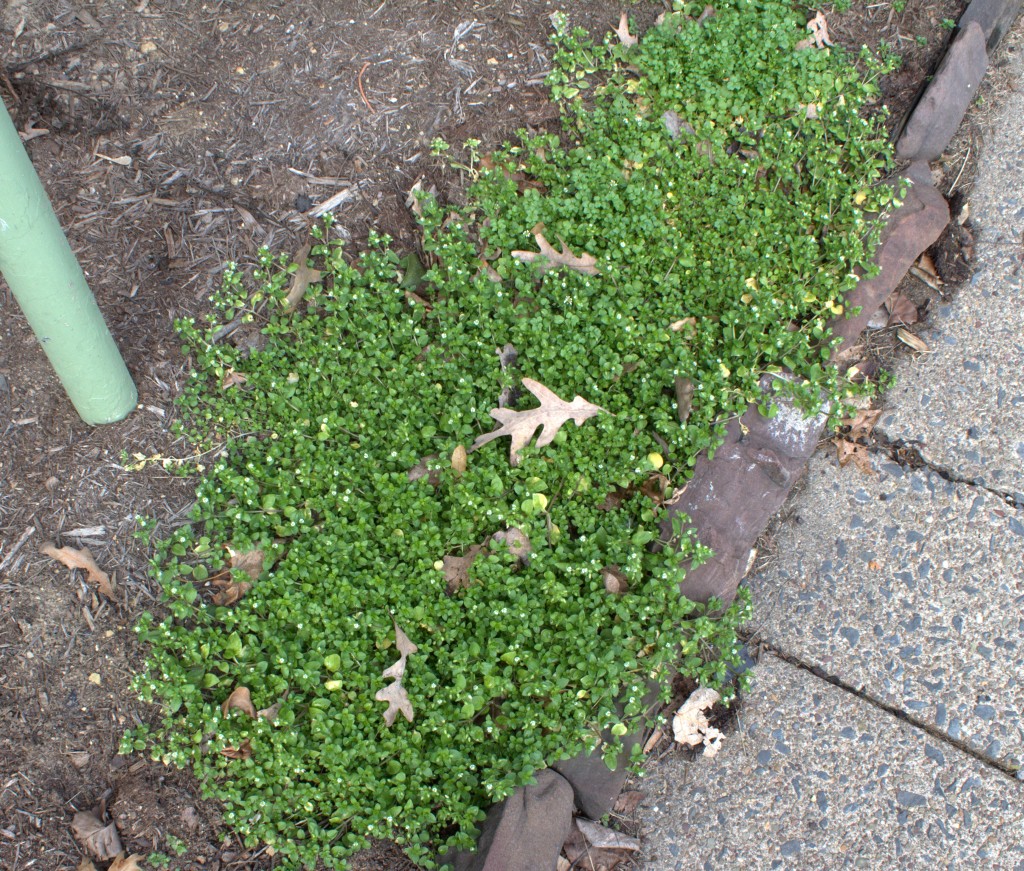
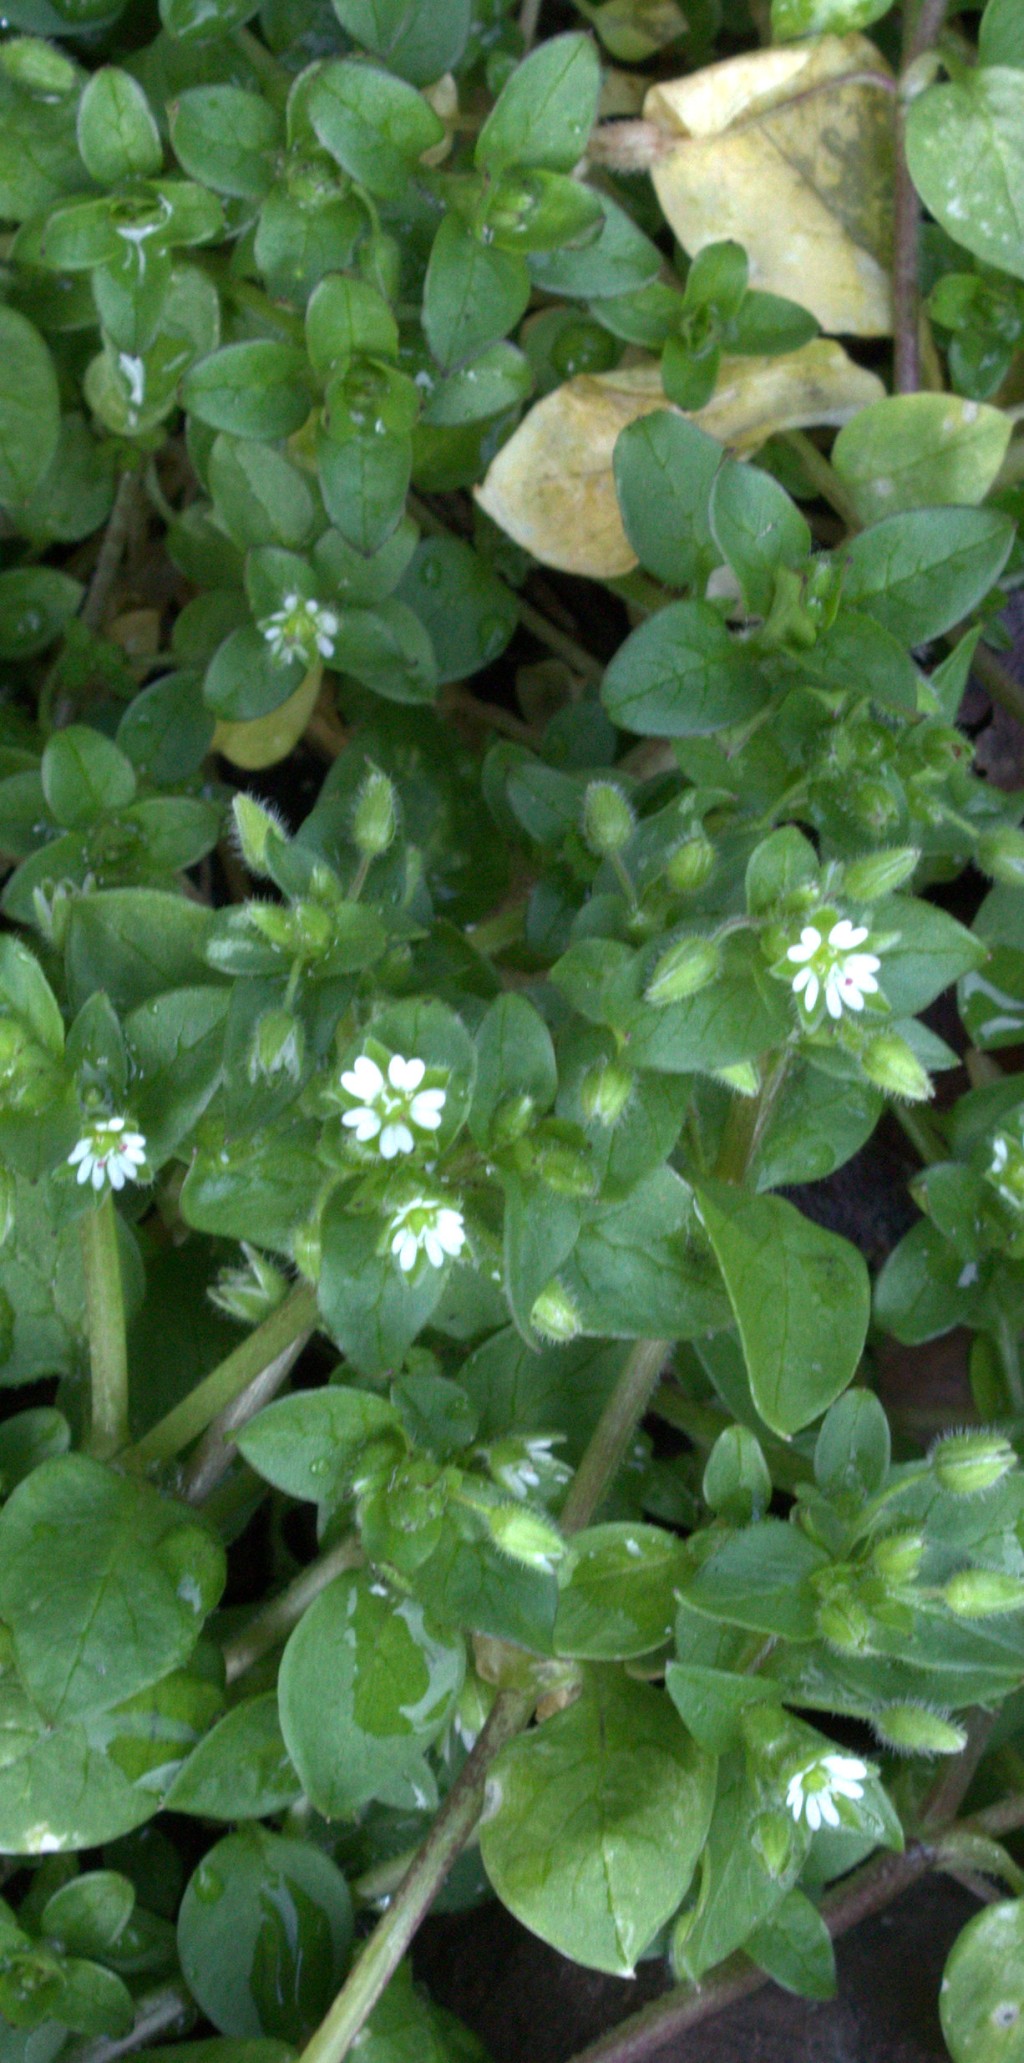
Some other spring-flowering plants aren’t as showy as they’re smaller or they just blend in better with their habitats. They shouldn’t be missed though as they have their own sort of beauty. The violets are low-growing, as are the wild ginger, Dutchman’s breeches and squirrel corn, and some of the “weeds” have tiny flowers that are easy to pass by.
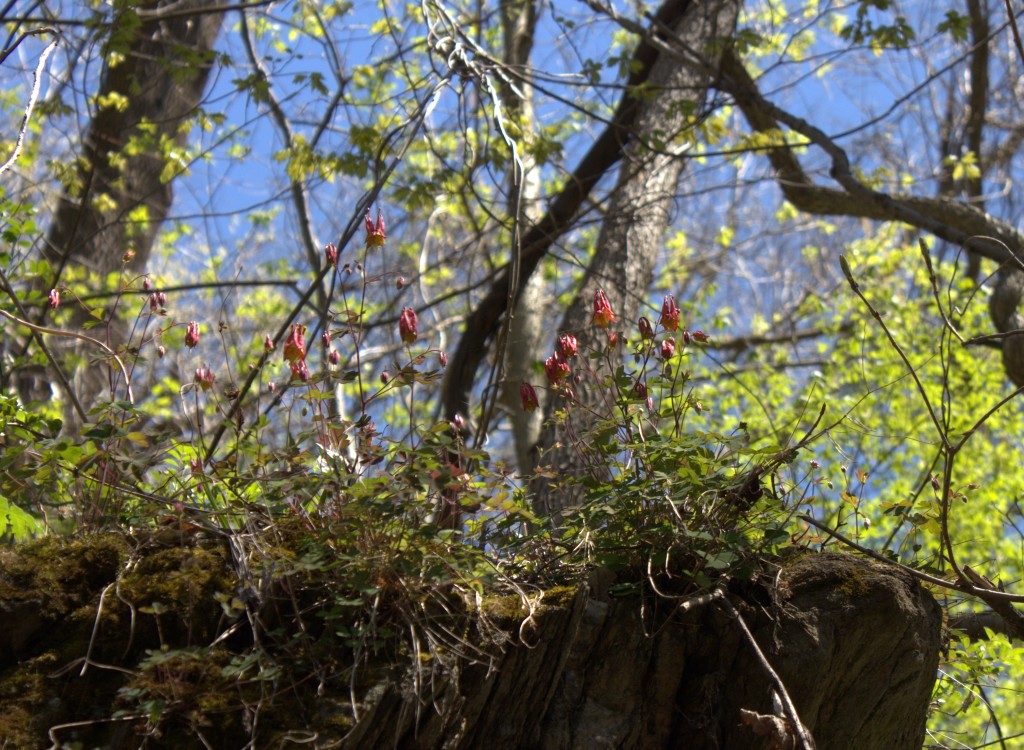
A couple of plants were growing specifically near the rocky areas and they’re easy to miss if you don’t look up. As you drive down the dirt road to the Wildflower Preserve entrance take a few moments to inspect the rocky outcrops and higher rock ledges where you’re likely to see Early Saxifrage and Wild Columbine.
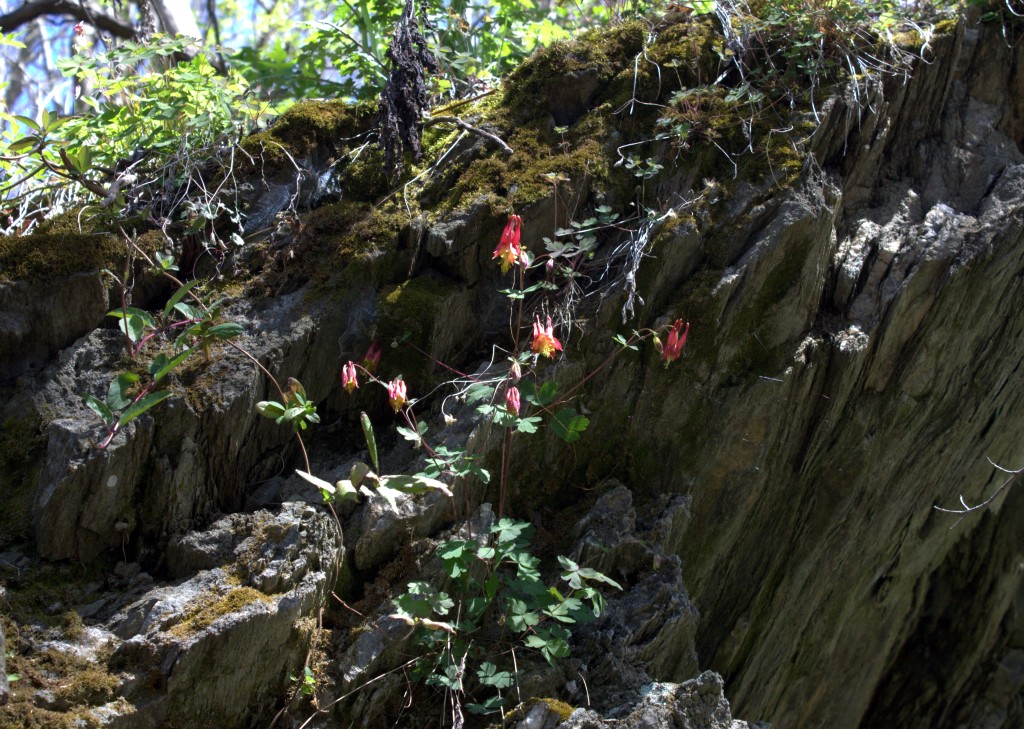
Red Columbine, Aquilegia canadensis, was just beginning to flower when we were at Shenk’s Ferry in late April. There were many more buds to open yet. Just look among the rock faces at either end of the glen. Apparently, the wild red columbine likes to be in the damp or among the minerals as might be associated with rocky areas.
Wild columbine was growing near bluebells and early saxifrage on the road-facing slope near the trail-head. Look for the red and yellow flowers.